Get Fresh Cocktail Recipes in Your Inbox
Join our newsletter and receive exclusive cocktail recipes, tips & mixology secrets every week.
No spam, just good taste. Unsubscribe anytime.
You want to make a proper cocktail, not a lukewarm mess. A cocktail shaker isn’t complicated, but there’s a difference between shaking and shaking well. The motion matters. The ice matters. The seal matters. This is how you use one without looking like it’s your first time.
Before you start shaking, you need to know what you’re working with. There are two styles that dominate bars and home setups: the Boston shaker and the Cobbler shaker. Both work. Both have their place. Your choice depends on experience level and what you’re comfortable handling.
The Boston shaker is what you see in professional bars. It’s a two-piece design: either two metal tins of different sizes, or one metal tin paired with a mixing glass. Pros love it because it’s fast, durable, and holds more liquid. You can batch drinks. You can crack it open with style.
The trade off? You need a separate strainer (usually a Hawthorne strainer). Sealing it properly takes a bit of practice. But once you’ve got the technique down, it becomes second nature.
The Cobbler is the three-piece shaker most people picture when they think “cocktail shaker.” It’s got a metal tin, a lid with a built-in strainer, and a cap. Everything in one package. Perfect for beginners or home bartenders who want simplicity.
The built-in strainer is convenient. You don’t need extra tools. But cheaper versions can freeze shut after shaking (the cold contracts the metal), and the seal isn’t always reliable. If you’re buying one, invest in quality stainless steel. It makes a difference.
This is the core technique. It works for both Boston and Cobbler shakers, with small adjustments depending on which one you’re using.
Always measure. Use a jigger or any precise measuring tool. Eyeballing might work after years of experience, but for now, precision keeps your drinks balanced. Add all your liquid ingredients into the shaker tin (or the smaller tin if you’re using a Boston shaker).
Spirits, juices, syrups, bitters, whatever the recipe calls for. Get it all in there before you add ice.
Ice does three things: it chills, it dilutes, and it helps blend the ingredients. Fill your shaker about two thirds full with ice. Not halfway. Not to the brim. Two thirds gives you the right ratio of liquid to ice for proper dilution and temperature.
Cubed ice works best. Crushed ice melts too fast and waters down your drink.
This is where people mess up.
For a Boston shaker, place the larger tin over the smaller one at a slight angle (not straight down). Give it a firm tap with the heel of your hand to create a seal. You’ll feel it lock into place. Don’t be timid. A weak seal means you’ll wear your cocktail.
For a Cobbler shaker, screw the cap on tightly. Make sure the built-in strainer is seated properly under the lid. Check it. A loose cap will spray liquid everywhere mid-shake.
Hold the shaker with both hands, one on each end. Your thumbs or fingers should press firmly on the top and bottom. This grip keeps everything secure even if the seal isn’t perfect.
If you’re new to this, use two hands. Always. Experienced bartenders can shake with one hand, but that’s showmanship, not necessity.
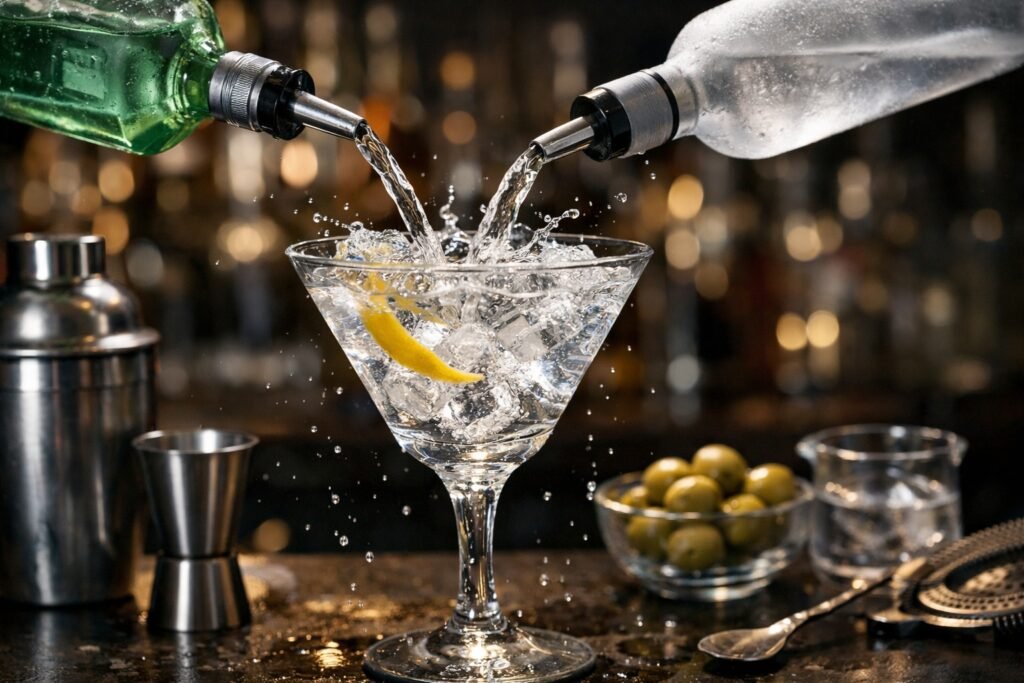
There’s a saying in the bar world: shake it, don’t tickle it. You need force. Shake vigorously in a back and forth motion over your shoulder. Not up and down. Not side to side like you’re hesitant. Hard, horizontal shaking creates the texture, aeration, and chill you want.
Shaking dilutes the drink slightly as the ice breaks apart. That dilution is intentional. It smooths out harsh spirits and integrates flavors. A gentle shake won’t do that.
You’ll feel it. The shaker gets ice cold in your hands, and condensation forms on the outside. That’s your signal. For most cocktails, this happens after 10 to 15 seconds of hard shaking.
Stop there. Over-shaking just adds more water without improving the drink.
For a Boston shaker, break the seal by tapping the side of the tin with your palm (usually near the spot where the two tins meet). It should pop open. Then use a Hawthorne strainer to pour the drink into your glass, keeping the ice and any solids in the tin.
For a Cobbler shaker, remove the cap and pour through the built-in strainer. If the lid is frozen shut (it happens), run warm water over the seam for a few seconds. Don’t force it.
Not every cocktail gets shaken. This is important.
Shake drinks that contain citrus juice, cream, egg whites, syrups, or any non-alcoholic mixers. Margaritas, Daiquiris, Whiskey Sours, Espresso Martinis, anything with juice. Shaking aerates these drinks and creates a light, frothy texture.
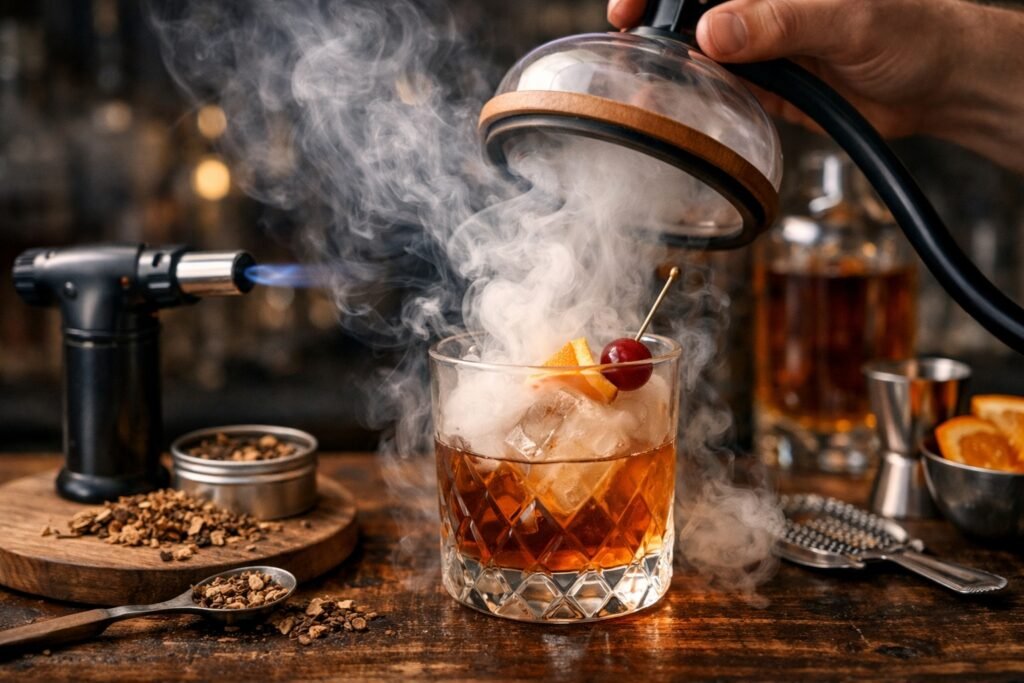
Stir drinks that are spirit-forward with no juice or dairy. Martinis, Manhattans, Negronis, Old Fashioneds. Stirring keeps them silky and clear, without the tiny air bubbles that shaking introduces.
The rule: if it’s got something other than pure spirits, shake it. If it’s just booze and a modifier like vermouth, stir it.
Even with the right technique, these slip-ups happen:
Shaking too gently. You need force. A timid shake won’t integrate the ingredients or chill the drink properly.
Using too little ice. More ice means better chilling and controlled dilution. Don’t skimp.
Not sealing the shaker. A weak seal equals a wet shirt and a lost cocktail. Always double check.
Ignoring the condensation cue. If the shaker isn’t cold to the touch, keep shaking. If it’s been cold for 20 seconds, you’ve over-shaken.
Forgetting to chill your glass. A warm glass immediately raises the temperature of your cocktail. Fill it with ice water while you shake, then dump it before pouring.
Once you’re comfortable with basic shaking, these techniques add another layer of control, especially for drinks with egg whites or aquafaba.
A dry shake means shaking your ingredients without ice first. You shake hard for about 30 seconds to emulsify the egg white or cream, then add ice and shake again to chill.
This creates a thicker, fluffier foam on top of drinks like Whiskey Sours or Pisco Sours. The extra agitation without the cold helps proteins bond better.
The reverse dry shake flips the order. Shake with ice first, strain out the ice, then shake again without ice. Some bartenders prefer this because it creates an even denser foam and prevents ice shards from breaking up the texture.
It’s a preference thing. Try both and see which foam you like better.
Honestly? Yes, if you want consistent results. A shaker is designed to do one job well: mix, chill, aerate, and dilute your drink in seconds. You can fake it with a mason jar and a lid, and that works in a pinch. But the seal won’t be as good, the shake won’t be as clean, and you’ll end up with a drink that’s close but not quite right.
A decent Cobbler shaker costs about as much as two cocktails at a bar. A Boston shaker setup (two tins plus a strainer) runs a bit more but lasts forever. If you’re making drinks more than once in a blue moon, it’s worth having the right tool.
Now you know how to use it. Go make something cold.