Get Fresh Cocktail Recipes in Your Inbox
Join our newsletter and receive exclusive cocktail recipes, tips & mixology secrets every week.
No spam, just good taste. Unsubscribe anytime.
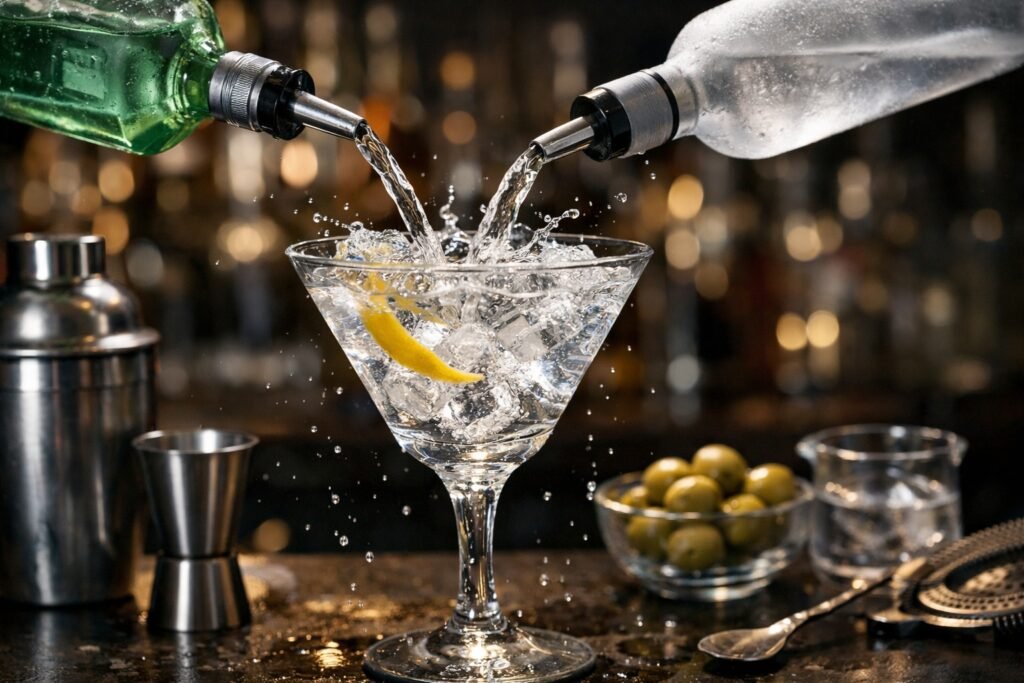
The right amount of ice in your cocktail shaker isn’t just a detail. It controls temperature, dilution, and texture. Too much and your drink stays warm. Too little and it turns into flavored water. Most home bartenders get this wrong, but the fix is simple once you know the rule.
Fill your shaker about two-thirds full with ice. That’s the sweet spot where you get proper chilling without drowning your cocktail in meltwater.
This ratio gives the ice enough room to move and crash through the liquid during shaking. The movement creates friction, breaks down the ice slightly, and chills everything fast. If you’re using a Boston shaker (the two-tin setup), add your ice to the larger tin after you’ve measured your ingredients into the smaller one.
The two-thirds rule works because it balances contact surface and dilution speed. You need enough ice to drop the temperature quickly, but not so much that there’s barely any liquid to shake.
Standard 1-inch by 1-inch ice cubes are your best bet for shaking cocktails. They’re large enough to resist melting too fast, but small enough to pack tightly in the tin without leaving big gaps.
Most regular ice cube trays produce cubes close to this size. They chill a drink in 10 to 15 seconds of vigorous shaking without turning it into a watery mess. Larger cubes sound impressive, but they create air pockets and don’t make full contact with the liquid. Smaller pieces disappear too fast.
Crushed ice is a disaster in a shaker. It melts almost instantly and floods your cocktail with water. Save crushed ice for swizzles and juleps where it belongs.
Oversized cubes (the 2-inch Instagram blocks) look cool but perform poorly in a shaker. They don’t pack efficiently, leave gaps, and slow down the chilling process.
Wet or partially melted ice adds extra water before you even start shaking. Always use fresh, dry ice straight from the freezer or ice machine for each drink.
If you’re using basic ice from your freezer’s automatic maker or small cube trays, use 5 to 6 cubes per cocktail. Eyeball it so the ice comes up to roughly two-thirds of the shaker’s height.
These smaller cubes melt slightly faster, so keep your shake time tight. A solid 10 to 12 seconds is usually enough.
Bagged ice from the supermarket tends to run small, closer to crushed than cubed. If that’s all you have, fill to just over half (not two-thirds) and shake gently for 8 to 10 seconds max.
Better option: make your own ice in advance using standard trays. Fill them the night before you plan to mix drinks.
Overfilling your shaker sounds like it would make drinks colder. It doesn’t. When ice takes up more than three-quarters of the tin, there’s not enough liquid volume to transfer heat efficiently. The drink stays warmer than it should and dilution drops off.
You’ll also struggle to get a good seal on the shaker, and the whole thing becomes awkward to handle.
Skimping on ice is worse. A half-filled shaker means each cube is surrounded by too much liquid. The ice melts faster, dumps excess water into your cocktail, and you end up with something thin and sad.
A good visual cue: after adding your liquid ingredients, the ice should sit just above the liquid line when you add it. If you can see a big gap, add more ice.
Drinks with egg white, aquafaba, or cream need a different approach. These ingredients foam better at room temperature, so you shake them first without any ice. This is called a dry shake.
After 10 to 15 seconds of dry shaking, pop open the tin, add your two-thirds ice, seal it back up, and shake again for another 10 seconds. The second shake chills and dilutes while preserving that thick foam cap.
Some bartenders prefer the reverse dry shake for even more foam. Shake with ice first, strain out the ice (keep the liquid), then shake again without ice.
It’s more work, but it produces a denser, longer-lasting foam. Use it when you’re trying to impress someone or when presentation really counts.
Use fresh ice every time. Never reuse ice from a previous shake. It’s already partially melted and coated in residual cocktail.
Pre-chill your shaker if you have time. Run it under cold water or fill it with ice for 30 seconds before you start building the drink. A cold tin chills faster and needs less dilution to reach proper temperature.
Shake hard for 10 to 15 seconds. Vigorous shaking isn’t just for show. You need force to break up the ice and create enough dilution. If you’re not hearing the ice crash around inside, you’re not shaking hard enough.
Listen for the sound change. As you shake, the noise shifts from hard clacking to a softer, wetter sound. That’s ice breaking down and dilution happening. When you hear that shift (usually around 10 seconds), you’re close to done.
Getting the ice amount right makes the difference between a balanced cocktail and a disappointing one. Two-thirds full with 1-inch cubes handles most situations. Adjust for what you have, shake with confidence, and your drinks will taste the way they’re supposed to.