Get Fresh Cocktail Recipes in Your Inbox
Join our newsletter and receive exclusive cocktail recipes, tips & mixology secrets every week.
No spam, just good taste. Unsubscribe anytime.
A poorly cut lime wastes juice, looks sloppy, and slows you down when you’re making drinks. The difference between a rushed wedge and a proper cut isn’t just aesthetic. It’s about getting maximum juice, clean presentation, and efficiency when you’re prepping for guests. Three essential techniques cover almost every cocktail scenario you’ll encounter at home.
Most people underestimate how much a cutting method affects the final drink. A thick, properly sliced wedge releases more juice with less effort than a thin sliver. A wheel with a clean slit sits perfectly on a glass rim instead of sliding into the drink.
The goal isn’t perfection for its own sake. It’s about making your prep work faster and your drinks better. When you’re mixing multiple cocktails, having uniformly cut limes means consistent flavor and faster assembly. You’re not fumbling with awkward pieces or squeezing out half the juice you should be getting.
Sharp, deliberate cuts also keep bitter white pith out of the drink. That layer between the peel and the flesh turns citrus from bright to harsh. Proper technique minimizes pith exposure while maximizing the usable fruit.
These three cuts handle roughly 95% of home bartending situations. Master them and you’ll be faster and more consistent than most amateur bartenders.
The wedge is your default lime cut. It’s functional, fast, and works for everything from a simple Gin & Tonic to a classic Margarita.
Start by trimming both ends of the lime. This removes some of the pith and creates a stable base. Stand the lime on one flat end and slice it in half lengthwise, straight down through the middle.
Place each half cut-side down on your board. Now cut each half into wedges. For a medium lime, aim for three wedges per half, giving you six total. Smaller limes work better as quarters (four wedges total). The key is thickness. A wedge needs enough flesh to squeeze properly without being so large it’s awkward to handle.
Here’s the step most people skip: the slit cut. After you’ve cut your wedges, take each one and make a small horizontal cut through the center of the flesh, stopping before you reach the peel on the other side. This tiny slit lets you mount the wedge on the rim of a glass easily. Without it, you’re either cutting fruit per drink or jamming wedges onto rims and hoping they stay.
Best for: Margaritas, Gin & Tonics, Moscow Mules, Caipirinhas, beer bottles, any drink where the guest squeezes their own juice.
Wheels look cleaner and more polished than wedges, which makes them ideal when presentation counts. They’re also the right choice for drinks with salted or sugared rims where you want the garnish to enhance the visual without overwhelming the glass.
Slice the lime in half crosswise (perpendicular to the stem ends, not lengthwise). Lay one half flat on your cutting board, cut side down. Now slice thin rounds, about ¼ inch thick. Thinner than that and they look flimsy. Thicker and they dominate the glass.
For rim placement, make a single cut from the outer edge to the center of each wheel. This allows you to slide the wheel onto the glass rim where it stays put and looks intentional.
Keep in mind that wheels sacrifice some juice accessibility compared to wedges. They’re harder to squeeze and release less liquid. Use them when you want visual impact or when the drink doesn’t require the guest to add juice themselves.
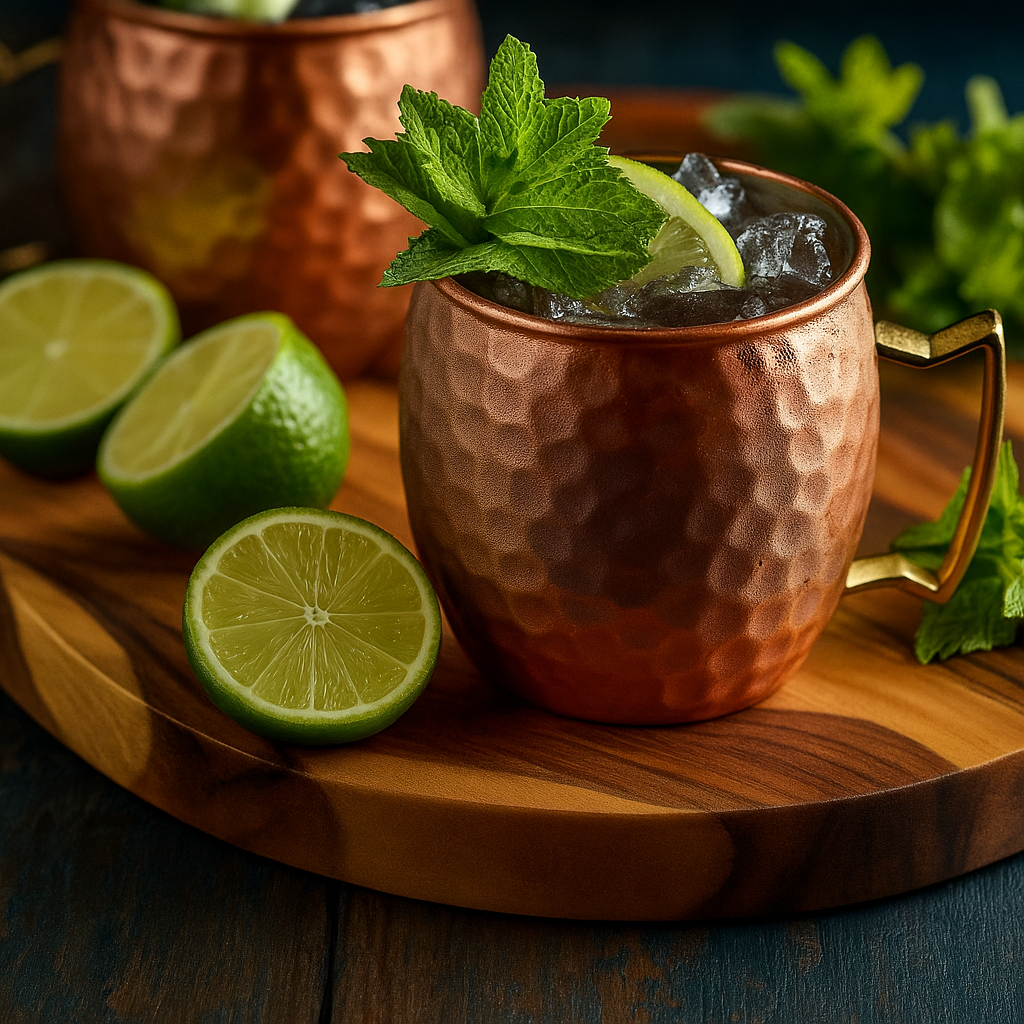
Best for: Margaritas with salted rims, Moscow Mules in copper mugs, tall Collins drinks, any cocktail where the lime floats on top for presentation.
When you’re making drinks that need fresh lime juice in volume, halves are the most efficient approach. No fussy wedges or wheels. Just pure juice extraction.
Before cutting, roll the whole lime firmly on your countertop with the heel of your hand. This breaks down the internal fibers and makes juicing significantly easier. Then slice the lime in half crosswise.
Use a citrus reamer, handheld juicer, or even a fork to extract the juice directly into your measuring cup or shaker. Halves give you maximum yield with minimal effort, especially when you’re batching cocktails for a group.
Best for: Daiquiris, batch Margaritas, Gimlets, fresh lime juice for syrups or large-format drinks, any situation where you need juice and don’t need the garnish.
You don’t need specialized equipment, but the right basics matter.
A sharp paring knife with a 3 to 4 inch blade gives you control and precision. Dull knives are dangerous because they require more pressure, which increases the chance of slipping. Sharp blades make clean cuts through the peel and flesh without tearing or crushing the fruit.
A stable cutting board with a non-slip surface keeps everything in place. Citrus is round and wants to roll. A board that doesn’t slide around gives you confidence to work quickly.
For juicing halves, a simple citrus reamer or handheld press speeds up the process. Not essential, but useful if you’re making drinks regularly.
These techniques elevate a drink’s presentation when you want something beyond the basics. They’re not necessary for everyday mixing, but they’re worth knowing.
A twist uses just the peel to add aromatic citrus oils to a cocktail. The flavor comes from expressing the oils over the drink’s surface, not from the juice.
Use a channel knife or vegetable peeler to remove a strip of peel about 3 inches long and ½ inch wide. Hold the lime in one hand and cut in one smooth motion, keeping the blade shallow to avoid the bitter white pith. Over your glass, twist the peel sharply to release the oils. You’ll see a fine mist of citrus spray across the drink’s surface.
You can drop the twist into the drink or drape it over the rim for visual effect. The key is the oil expression, not the peel itself.
Best for: Gimlets, Vodka Martinis, refined stirred cocktails where you want aroma without added juice.
Zest is finely grated peel used as an aromatic garnish. Use a microplane or fine grater, rubbing the lime across the surface until you reach the white pith. Rotate the fruit to a fresh section and repeat.
A small pinch of zest over a creamy or frothy cocktail adds a burst of citrus fragrance without altering the drink’s balance.
Best for: Ramos Gin Fizzes, Pisco Sours, Whiskey Sours with egg white, any drink with foam or cream where aromatic garnish enhances the nose.
Skipping the slit in wedges. This single step separates functional garnishes from awkward ones. Without it, you’re constantly fighting to get limes onto glass rims.
Cutting wedges too thin. A paper-thin wedge looks delicate but won’t release much juice when squeezed. Aim for at least ½ inch of flesh thickness.
Using a dull knife. This crushes the lime instead of cutting it cleanly, releasing juice onto your cutting board instead of into your drink. Sharpen your blade.
Including too much pith. The white layer tastes bitter and harsh. Keep your cuts clean and peel-focused when making twists or zest.
Not prepping ahead for parties. Cut your limes 30 minutes before guests arrive, not while you’re mixing drinks. Store prepped garnishes in a covered container in the fridge to keep them fresh and ready.
Margarita: Wedge for squeezing and rim rubbing, or wheel for salted rim presentation
Mojito: Wedge for muddling with mint and sugar
Daiquiri: Half for fresh juice extraction
Gin & Tonic: Wedge for squeezing into the drink
Moscow Mule: Wheel for visual presentation in copper mug
Caipirinha: Wedge (quartered) for muddling with sugar
Gimlet: Twist or wheel depending on presentation preference
Whiskey Sour: Wheel for garnish, or zest if using egg white foam
Paloma: Wedge for squeezing and rim salting
Tom Collins: Wheel for floating on top of the tall drink