Get Fresh Cocktail Recipes in Your Inbox
Join our newsletter and receive exclusive cocktail recipes, tips & mixology secrets every week.
No spam, just good taste. Unsubscribe anytime.
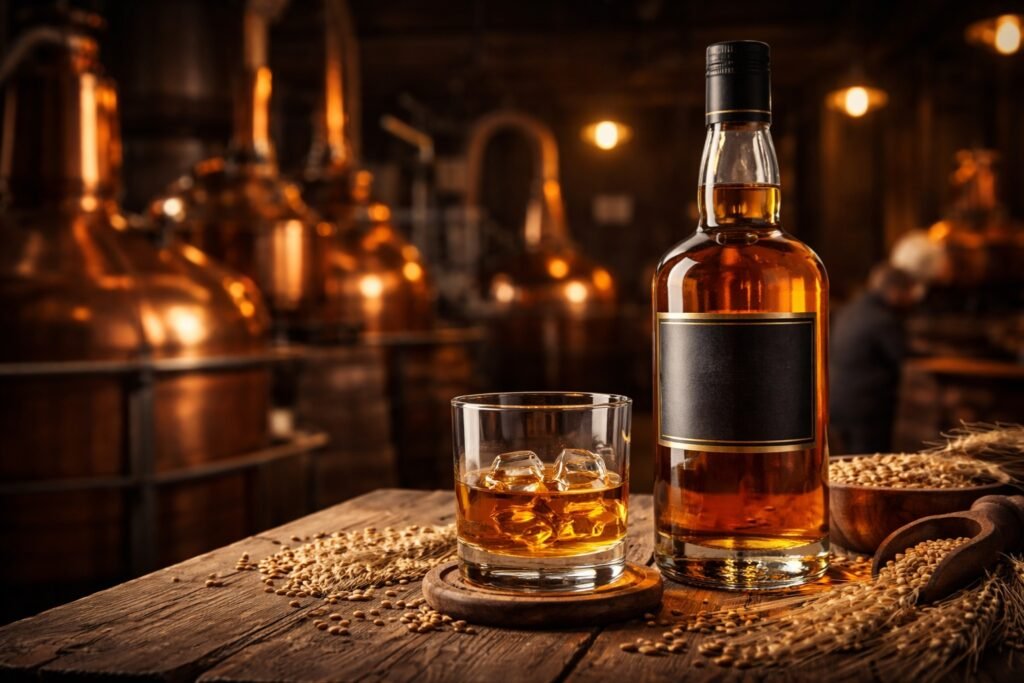
Making your own cocktail bitters takes patience but not complexity. The process breaks down into three simple steps: infusing botanicals in high-proof alcohol, creating bitter depth, and blending everything to taste. In two to four weeks, you’ll have a custom ingredient that transforms ordinary cocktails into something distinctly yours.
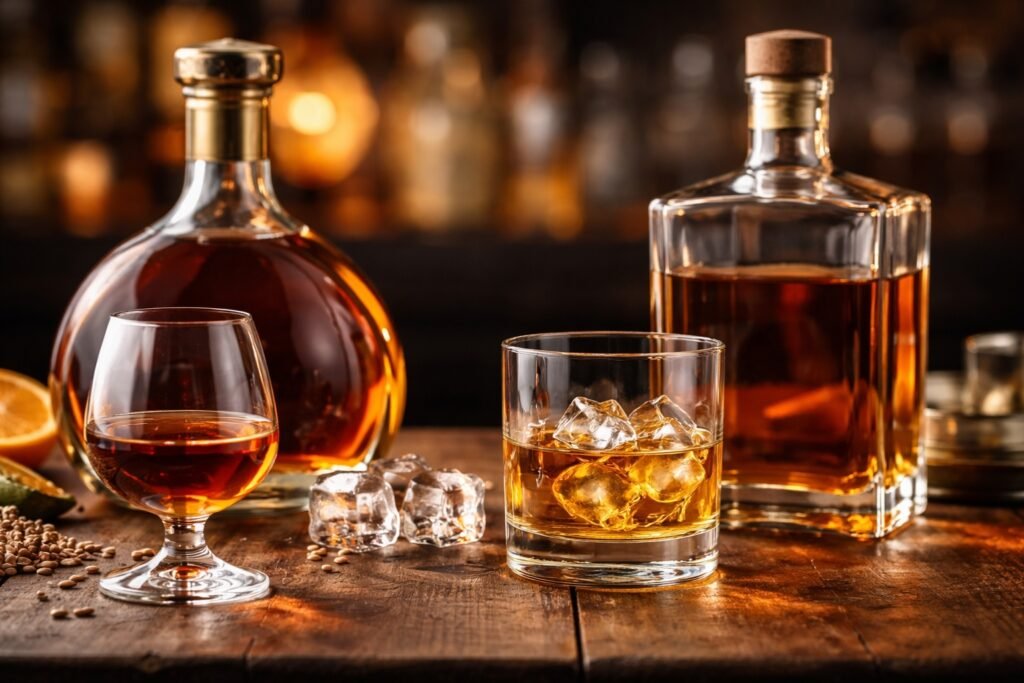
High-proof alcohol extracts flavor compounds more efficiently than standard spirits. The higher the alcohol content, the faster and more complete the extraction. Everclear at 151 or 190 proof works perfectly. If you prefer something milder, use vodka at 100 proof minimum. Anything below 80 proof won’t pull enough flavor from your botanicals and will take significantly longer to infuse.
Proof directly affects your timeline. A 190-proof spirit extracts in days. A 100-proof vodka needs weeks. Choose based on how patient you are and what’s available in your area.
The bitter component separates actual bitters from simple infused alcohol. Without it, you’re making a tincture, not bitters. Three reliable options dominate home recipes: gentian root, cinchona bark, and wormwood.
Gentian root delivers a clean, earthy bitterness similar to Campari. Cinchona bark brings the quinine flavor you know from tonic water. Wormwood adds the herbal complexity found in absinthe and vermouth. Start with one tablespoon of dried root or bark per cup of alcohol. You can always adjust in future batches.
Find these at herb shops, natural food stores, or online suppliers like Mountain Rose Herbs or Penn Herb. They’re not expensive and a small bag lasts through many batches.
Keep your ingredient list short. Three to five total components produce clearer, more balanced results than ten-ingredient experiments. You can always layer complexity in future batches once you understand how each element behaves.
Citrus peels form the backbone of most bitters recipes. Dried peels concentrate flavor without adding moisture. Orange, lemon, and grapefruit all work well. Dry them in a 200°F oven for one to two hours until they curl and harden.
Spices add warmth and depth. Cinnamon sticks, whole cardamom pods, cloves, and star anise are kitchen staples that translate beautifully into bitters. Crack them lightly with a knife before infusing to expose more surface area.
Aromatics round out the profile. Vanilla beans, coffee beans, cacao nibs, and dried fruit each bring distinct character. Choose one that complements your citrus and spice choices rather than competing with them.
Glass jars with tight lids work perfectly. Mason jars in pint or quart sizes are ideal. You need coffee filters or cheesecloth for straining. Small bottles with droppers or dasher caps make the final product easy to use. Simple syrup is optional but useful for balancing the final blend.
Everything else you already own: measuring spoons, a funnel, and a dark cabinet for storage.
Combine all ingredients in a single jar, cover with alcohol, and wait. This approach is faster to set up and requires less equipment. You lose precise control over individual flavors, but for straightforward recipes like orange bitters or aromatic bitters, it works beautifully.
Best for first batches or when you want a unified flavor profile where no single element should dominate. Mix your bittering agent with citrus, spices, and aromatics in one jar. Infuse for two to four weeks. Strain, filter, bottle. Done.
The trade-off is simple: less flexibility in the final blend, but also less decision-making and fewer steps.
Separate jars for your main flavor, your spice components, and your bittering agent give you complete control. Each element infuses at its own pace. You taste and blend them at the end to create exactly the balance you want.
This method shines when working with delicate flavors that extract quickly or when you want maximum customization. One jar holds your primary flavor (say, dried cherries and vanilla). Another jar contains warming spices (cinnamon, clove, cardamom). The third jar is pure bittering agent.
After infusion, you blend them in ratios that work for your palate. Start with four parts flavoring to one part bittering agent and adjust from there. The extra effort pays off in precision and repeatability.
Dry your citrus peels first. Peel four medium oranges and cut the peels into thin strips. Spread them on a baking sheet and bake at 200°F for one to two hours. They’re ready when they curl at the edges and feel completely dry to the touch. Let them cool before using.
Crush whole spices lightly with the flat side of a knife or the bottom of a heavy pan. You want to crack them open, not pulverize them. Cracking exposes the aromatic oils inside without creating powder that clouds your final product.
Measure your botanicals based on whether they’re fresh or dried. Use a 2:1 ratio of alcohol to fresh ingredients by volume. For dried ingredients, use a 4:1 ratio. One cup of alcohol to half a cup of fresh citrus peel, or one cup of alcohol to a quarter cup of dried spices.
Fill your jar with prepared ingredients. Pour in enough high-proof alcohol to cover everything completely with at least half an inch of liquid above the solids. Ingredients that float above the alcohol line won’t infuse and may develop mold.
Seal the jar tightly. Store it in a cool, dark place away from direct sunlight and temperature fluctuations. A kitchen cabinet works perfectly.
Shake the jar once daily for the first week, then a few times per week after that. This agitation maximizes contact between the alcohol and botanicals, speeding extraction. Mark your calendar for two weeks out as your first serious taste test.
Never taste bitters straight from the jar at full strength. Add three to five drops to a small glass of water or tonic. This dilution lets you evaluate the flavor without overwhelming your palate.
You’re looking for a well-rounded profile where no single ingredient dominates unless that’s your intention. The bitterness should be present but not harsh. Citrus should be bright without being soapy. Spices should add warmth without turning medicinal.
If flavors seem weak, continue infusing and test again in three to four days. Most batches reach peak flavor between two and four weeks. Beyond that, you risk over-extraction, which can turn flavors muddy or astringent.
Pour the infused liquid through a fine-mesh strainer to remove the solid ingredients. Press down on the solids gently to extract the last drops, then discard them.
The liquid will still contain fine particles. Line a funnel with a coffee filter and slowly pour the strained liquid through it into a clean jar or bottle. This step takes time. Coffee filters clog quickly, so change them as needed.
Expect some cloudiness. Unless you have industrial filtration equipment, homemade bitters won’t achieve the crystal clarity of commercial products. A slight haze is normal and won’t affect flavor or shelf life. You’ll shake the bottle before using anyway.
If you used the three-jar method, now’s when you combine your separate infusions. Start with the recommended ratio of four parts flavoring components to one part bittering agent. Mix small amounts first, test in a simple cocktail, and adjust.
Most homemade bitters end up between 30% and 45% ABV depending on your base spirit and dilution. If you started with Everclear at 75% ABV, add an equal amount of water-based liquid to bring it down to approximately 37.5% ABV. If you used 100-proof vodka, you’re already in the target range.
Simple syrup is optional but useful. Add one to two tablespoons per cup of finished bitters if you want to soften the harsh edges. Use a 1:1 simple syrup (equal parts sugar and water). Rich syrup can make bitters too sweet for most applications.
Stir or shake thoroughly to combine everything evenly.
Transfer your finished bitters into small bottles. Eyedropper bottles or bottles with dasher caps make them easiest to use. You can find these online or reuse empty commercial bitters bottles. A small funnel prevents spills during transfer.
Let your bitters rest for two to three days before using them. The flavors will meld and settle during this time, producing a more harmonious final product.
Stored in a cool, dark place, bitters last indefinitely due to their high alcohol content. Flavor may fade slightly after a year, but they won’t spoil. If sediment settles at the bottom over time, simply shake the bottle before using.
Too bitter: You used too much bittering agent or infused it too long. In your next batch, reduce the amount of gentian root, cinchona bark, or wormwood by half. If the current batch is usable but too intense, dilute it with more base spirit or use fewer drops per cocktail.
Not bitter enough: Your bittering agent didn’t infuse long enough, or you didn’t use enough. Taste your bittering jar separately from the flavor jars. If it’s weak, let it steep longer. If it’s already as strong as it will get, increase the proportion of bittering agent when you blend your jars together.
Muddy or unclear flavors: Too many ingredients competing for attention. Simplify your next recipe to three or four components maximum. Let each one shine rather than trying to build complexity through volume.
Sediment in the bottle: Completely normal. Shake before using. If it bothers you, pour the bitters through a fresh coffee filter into a new bottle.
Overpowering single note: One ingredient extracted faster or stronger than expected. Cinnamon, clove, and star anise are common culprits. Use less of these powerful spices in future batches. For the current batch, dilute with more base spirit to soften the intensity.
Start with five to eight drops per cocktail and adjust based on your bitters’ strength. Homemade versions often run milder than commercial products like Angostura, so you might need a few extra drops to achieve the same effect.
Test your bitters in an Old Fashioned first. The simple recipe (whiskey, sugar, bitters) showcases what your creation adds without other flavors getting in the way. Make one with your homemade bitters and one with commercial bitters side by side. The comparison teaches you exactly how yours differ.
Manhattan, Sazerac, and even a simple gin and tonic all benefit from a few drops of well-made bitters. They balance sweetness, add aromatic complexity, and tie disparate flavors together. Even in drinks that don’t traditionally call for bitters, a couple drops can elevate the whole cocktail.
Your homemade bitters will have a different strength and flavor profile than store-bought versions. That’s the point. Adjust quantities to taste and enjoy having something no one else can buy.