Get Fresh Cocktail Recipes in Your Inbox
Join our newsletter and receive exclusive cocktail recipes, tips & mixology secrets every week.
No spam, just good taste. Unsubscribe anytime.
You’ve just unboxed a cocktail set. The tools are gleaming, you’re excited, but you’re also staring at six or seven pieces of metal wondering which one does what and where to even start. Good news: using a cocktail set is way more intuitive than it looks. Each tool has a specific job, and once you understand the basics, you’ll be mixing drinks with confidence tonight.
Most cocktail sets include these six core tools. The jigger measures liquid accurately. The cocktail shaker mixes and chills drinks. The bar spoon stirs spirit-forward cocktails and measures small amounts. The strainer keeps ice and pulp out of your glass. The muddler crushes herbs and fruit to release flavor. The peeler or paring knife creates citrus garnishes. Some sets add extras like tongs or pourers, but these six are the foundation.
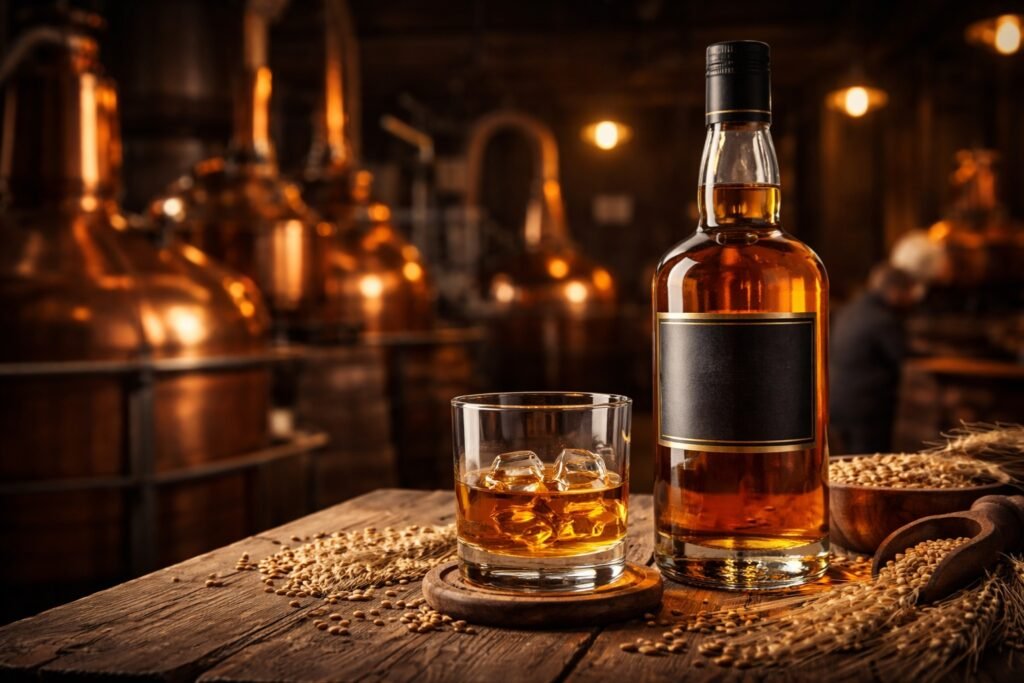
A jigger measures precise amounts of liquid, usually with two cups on either end. Standard sizes are 25ml and 50ml in most regions, though some show ounce measurements. Think of it as your cocktail insurance policy. Eyeballing might work for cooking, but cocktails live and die by balance.
Hold the jigger between your index and middle finger, resting it gently on the rim of your shaker or glass. Pour your spirit or liqueur slowly until the liquid reaches the brim, not halfway. The meniscus (that slight curve at the top) should just kiss the edge. Then transfer it cleanly into your shaker. No need to rush. Precision matters more than speed when you’re starting out.
Every single cocktail. Period. Even experienced bartenders use jiggers because consistency is what separates a good drink from a mediocre one. Skipping the jigger means your Margarita tastes different every time, and not in a good way.
Most sets include either a three-piece cobbler shaker or a two-piece Boston shaker. The cobbler has a metal cup, a lid with a built-in strainer, and a small cap on top. It’s beginner-friendly because everything clicks together and you don’t need a separate strainer. The Boston shaker has two tins (or one tin and a glass) that fit inside each other. It’s what pros use because it’s faster and holds more liquid, but it takes practice to seal and open properly.
If you’re not sure which you have, look at the pieces. Three parts means cobbler. Two parts means Boston.
Start by adding your ingredients to the shaker tin using your jigger. Liquid goes in first, ice comes last. Fill the shaker about three-quarters full with ice. This gives your ingredients room to move around and get properly chilled.
For a cobbler shaker, place the strainer lid on top and screw the cap tight. Hold it with both hands (one on the bottom, one on the cap) and shake horizontally over your shoulder. Ten to fifteen seconds of vigorous shaking is enough. You’ll know it’s ready when frost forms on the outside. Unscrew the cap and pour through the built-in strainer.
For a Boston shaker, place the second tin on top at a slight angle and give it a firm tap with your palm to create a seal. Grip it with both hands (one on each tin, thumbs and fingers securing the seal) and shake the same way. To open it, find the spot where the two tins meet and give the bottom tin a firm tap with your palm. It should pop open. If it doesn’t, try tapping from a different angle. This takes practice, so don’t get frustrated if it sticks the first few times.
Anything with citrus juice, sugar, syrups, dairy, or egg whites gets shaken. The rule is simple: if your drink contains anything beyond straight spirits, shake it. Daiquiris, Margaritas, Whiskey Sours, Cosmos, all shaken. The vigorous motion aerates the ingredients, creating a lighter texture and better integration of flavors.
A bar spoon is a long-handled spoon (usually 30 to 40cm) with a twisted shaft. It stirs drinks that don’t need aeration, measures small amounts of liquid (one spoonful equals roughly 5ml), and can layer ingredients for fancy presentations. The length keeps your hand out of the drink while you work.
For stirring, add your ingredients and ice to a mixing glass or the shaker tin itself. Insert the bar spoon and press the back of the spoon against the inside wall of the glass. Move it in smooth circles, keeping contact between the spoon and the glass at all times. This creates a gentle rotation that chills and dilutes the drink without introducing air bubbles. Fifteen seconds is usually enough.
For layering drinks (like a Pousse Café), rest the back of the spoon just above the surface of the liquid already in the glass. Slowly pour the next ingredient down the spoon. It should spread gently and float on top if you’ve got the densities right.
Use the bar spoon for spirit-forward cocktails like Martinis, Manhattans, Negronis, and Old Fashioneds. These drinks are all about clarity and smooth texture. Shaking them would make them cloudy and overly diluted. Stirring preserves the silky, clean mouthfeel that makes these classics work.
The Hawthorne strainer has a flat disc with a spring coiled around the edge. It fits over the top of a shaker tin and the spring catches ice and large particles. The Julep strainer looks like a slotted spoon and fits inside a mixing glass for stirred drinks. A fine mesh strainer (also called a tea strainer) catches tiny particles like pulp, herbs, or ice chips for an ultra-smooth drink.
Place the strainer over the mouth of your shaker or mixing glass. For a Hawthorne, the spring side goes down, facing the ice. Hold it in place with one finger while you pour with the other hand. For double straining (when you want zero pulp or ice shards), hold the fine mesh strainer over your glass and pour through both the Hawthorne and the mesh.
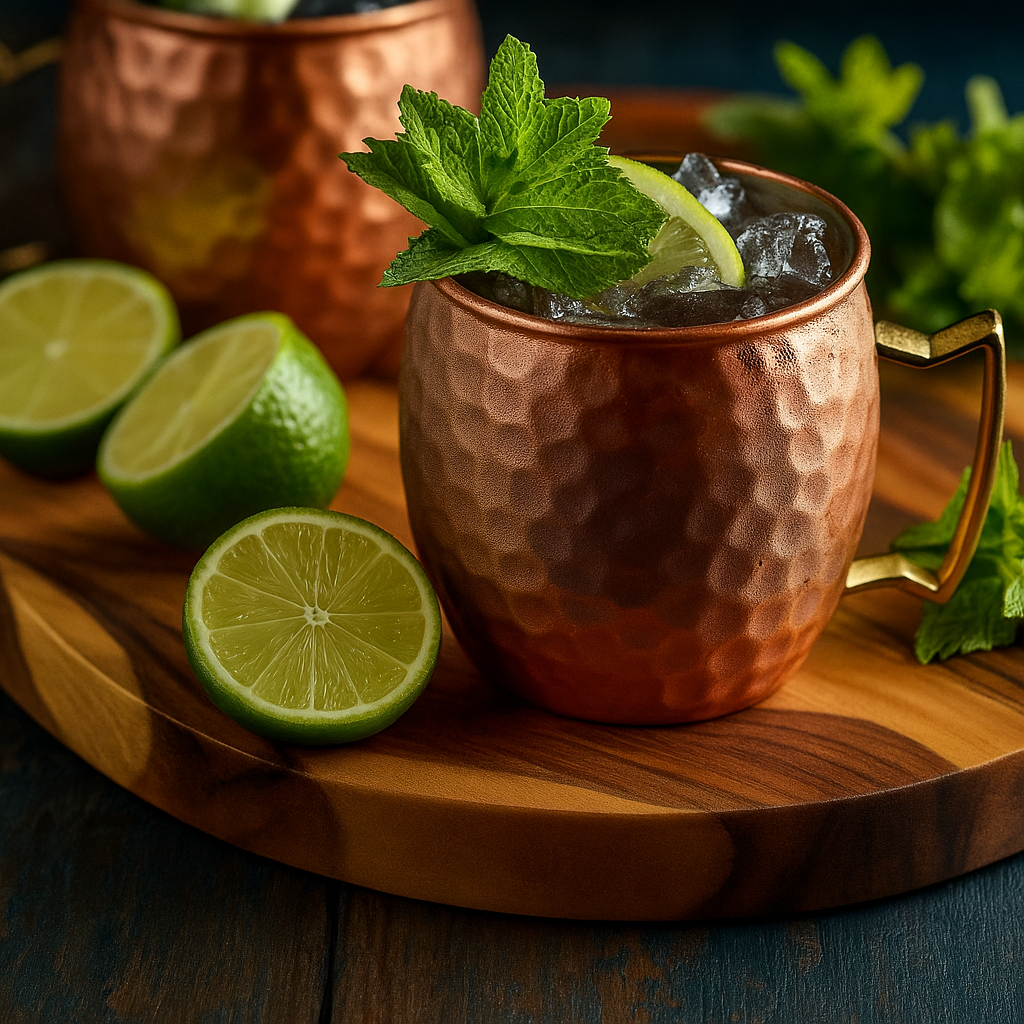
If you’re using a Boston shaker, you need a strainer every time since there’s no built-in option. Cobbler shakers have their own strainer, so you’re covered. Double straining is crucial for drinks with muddled fruit or herbs (like a Mojito) or anything with egg whites. Nobody wants mint bits stuck in their teeth.
A muddler is essentially a pestle for your shaker or glass. It crushes fresh ingredients like mint leaves, lime wedges, berries, or sugar cubes to release their oils, juices, and flavors directly into your drink. Wood and stainless steel are the most common materials, though stainless steel is easier to clean and won’t absorb flavors over time.
Place your ingredients at the bottom of your shaker or glass. Hold the muddler like you’d hold a pestle and use a firm but controlled pressing and twisting motion. For herbs like mint or basil, you want to bruise them gently to release oils without tearing them to shreds (which makes drinks bitter). For fruit and sugar, you can press harder to extract juice and dissolve crystals. Three to five presses is usually enough.
The Mojito is the classic muddler showcase (mint and lime). A Mint Julep uses muddled mint with bourbon and simple syrup. The Caipirinha muddles lime wedges and sugar before adding cachaça. An Old Fashioned traditionally muddles a sugar cube with bitters. Start with these and you’ll get a feel for how much pressure to use.
This tool creates citrus twists and peels for garnishes. The peel contains aromatic oils that add fragrance and a subtle flavor boost when expressed over a finished drink. A Y-shaped peeler is easier for beginners because it gives you wider, more consistent peels. A paring knife offers more control but requires a steadier hand.
With a Y-peeler, hold the citrus fruit firmly and run the peeler down the skin in one smooth motion, removing just the colored outer layer. Avoid the white pith underneath, which is bitter. With a paring knife, carefully cut a thin strip of peel, keeping your thumb behind the blade for safety.
Once you have your peel, hold it over the drink with the colored side facing down. Pinch it sharply between your fingers to express the oils onto the surface. You’ll see (and smell) a fine mist of citrus oil. Then either drop the peel into the drink or run it around the rim of the glass before discarding.
The Daiquiri teaches you the fundamentals of shaking and balancing citrus with spirit.
60ml white rum
25ml fresh lime juice
15ml simple syrup
Add all ingredients to your shaker, fill with ice, and shake hard for 15 seconds. Strain into a chilled coupe glass. No garnish needed. This drink is all about clean, balanced flavor.
The Old Fashioned introduces muddling and stirring in one elegant package.
60ml bourbon or rye whiskey
5ml simple syrup (or 1 sugar cube)
2 dashes Angostura bitters
Orange peel
If using a sugar cube, place it in a rocks glass with the bitters and a splash of water. Muddle until dissolved. Add whiskey and ice, then stir with your bar spoon for 15 seconds. Express an orange peel over the drink and drop it in.
The Martini is the ultimate stirred cocktail and a test of your technique.
60ml gin or vodka
15ml dry vermouth
Add both ingredients to a mixing glass or shaker tin with plenty of ice. Stir gently for 15 seconds. Strain into a chilled martini glass. Garnish with a lemon twist or olive. The clarity and silky texture only come from proper stirring, never shaking.
Overfilling the shaker leaves no room for ingredients to move. Stick to three-quarters full with ice and you’ll get proper dilution and chill.
Not sealing the shaker properly leads to sticky disasters. For Boston shakers, that firm tap to seal is non-negotiable. For cobblers, make sure the cap is screwed on tight.
Under-shaking or over-stirring ruins the drink. Shake vigorously for 10 to 15 seconds until frost appears. Stir gently for about 15 seconds. More isn’t always better.
Using crushed ice when you need cubes melts too fast and over-dilutes your drink. Standard ice cubes are your default unless the recipe specifically calls for crushed.
Skipping the jigger because you think you can eyeball it guarantees inconsistent drinks. Even if you make the same cocktail ten times, measure it every time.
Hand wash your cocktail tools with warm soapy water and dry them immediately after use. Stainless steel can rust if left wet, and trapped moisture in shaker seals leads to funky smells over time. Skip the dishwasher for anything with moving parts, seals, or delicate finishes.
Store your tools in a dry place. If your shaker has multiple pieces, leave them loosely stacked rather than sealed together so air can circulate.
You now know more than most people who own a cocktail set. Pick your drink, grab your tools, and start mixing.